When I purchased a camera to have fun with photography, I discovered a limitation. The camera could quite quickly overheat when recording video, or when using the camera as a webcam. I decided it would be useful to have a detachable cooling fan to eliminate or at least reduce the overheating problem when needed.
Portable Camera Cooler
2022
PCB Design
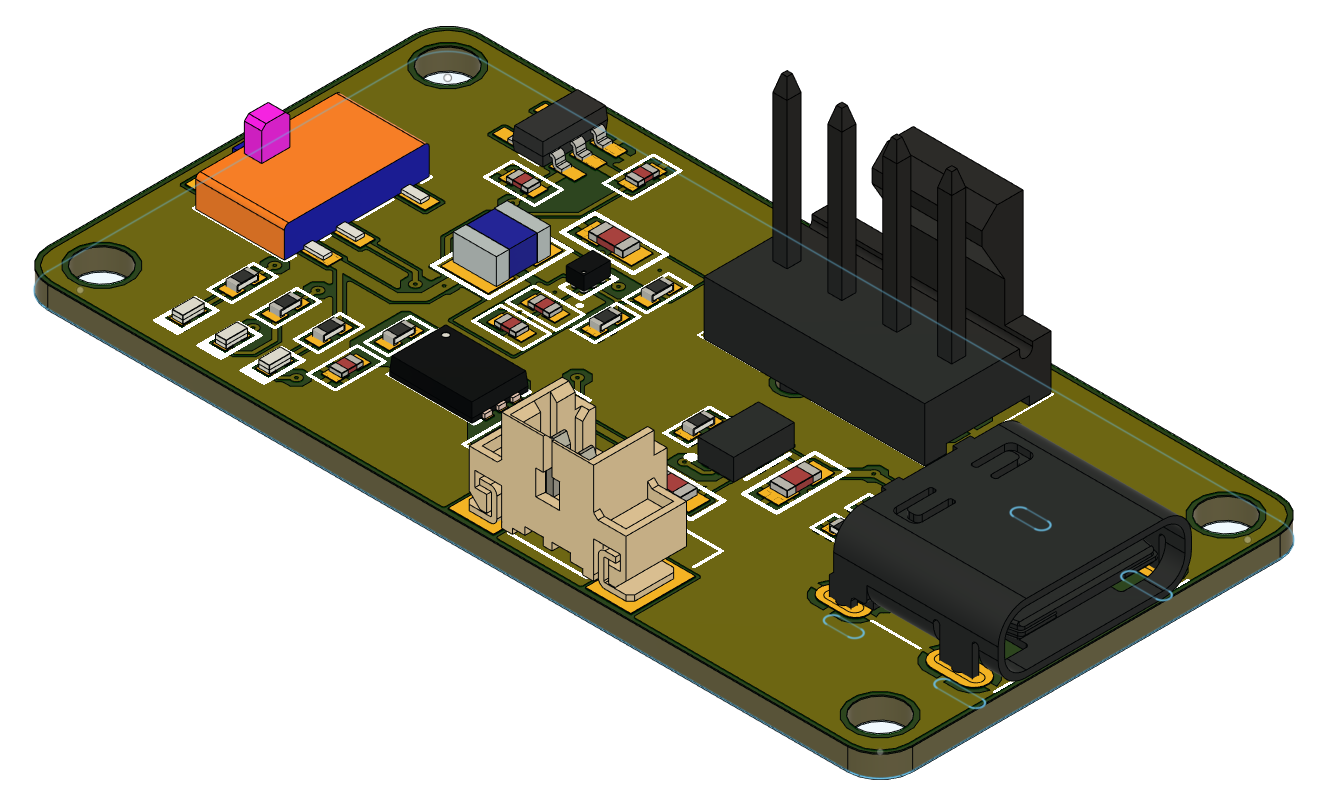
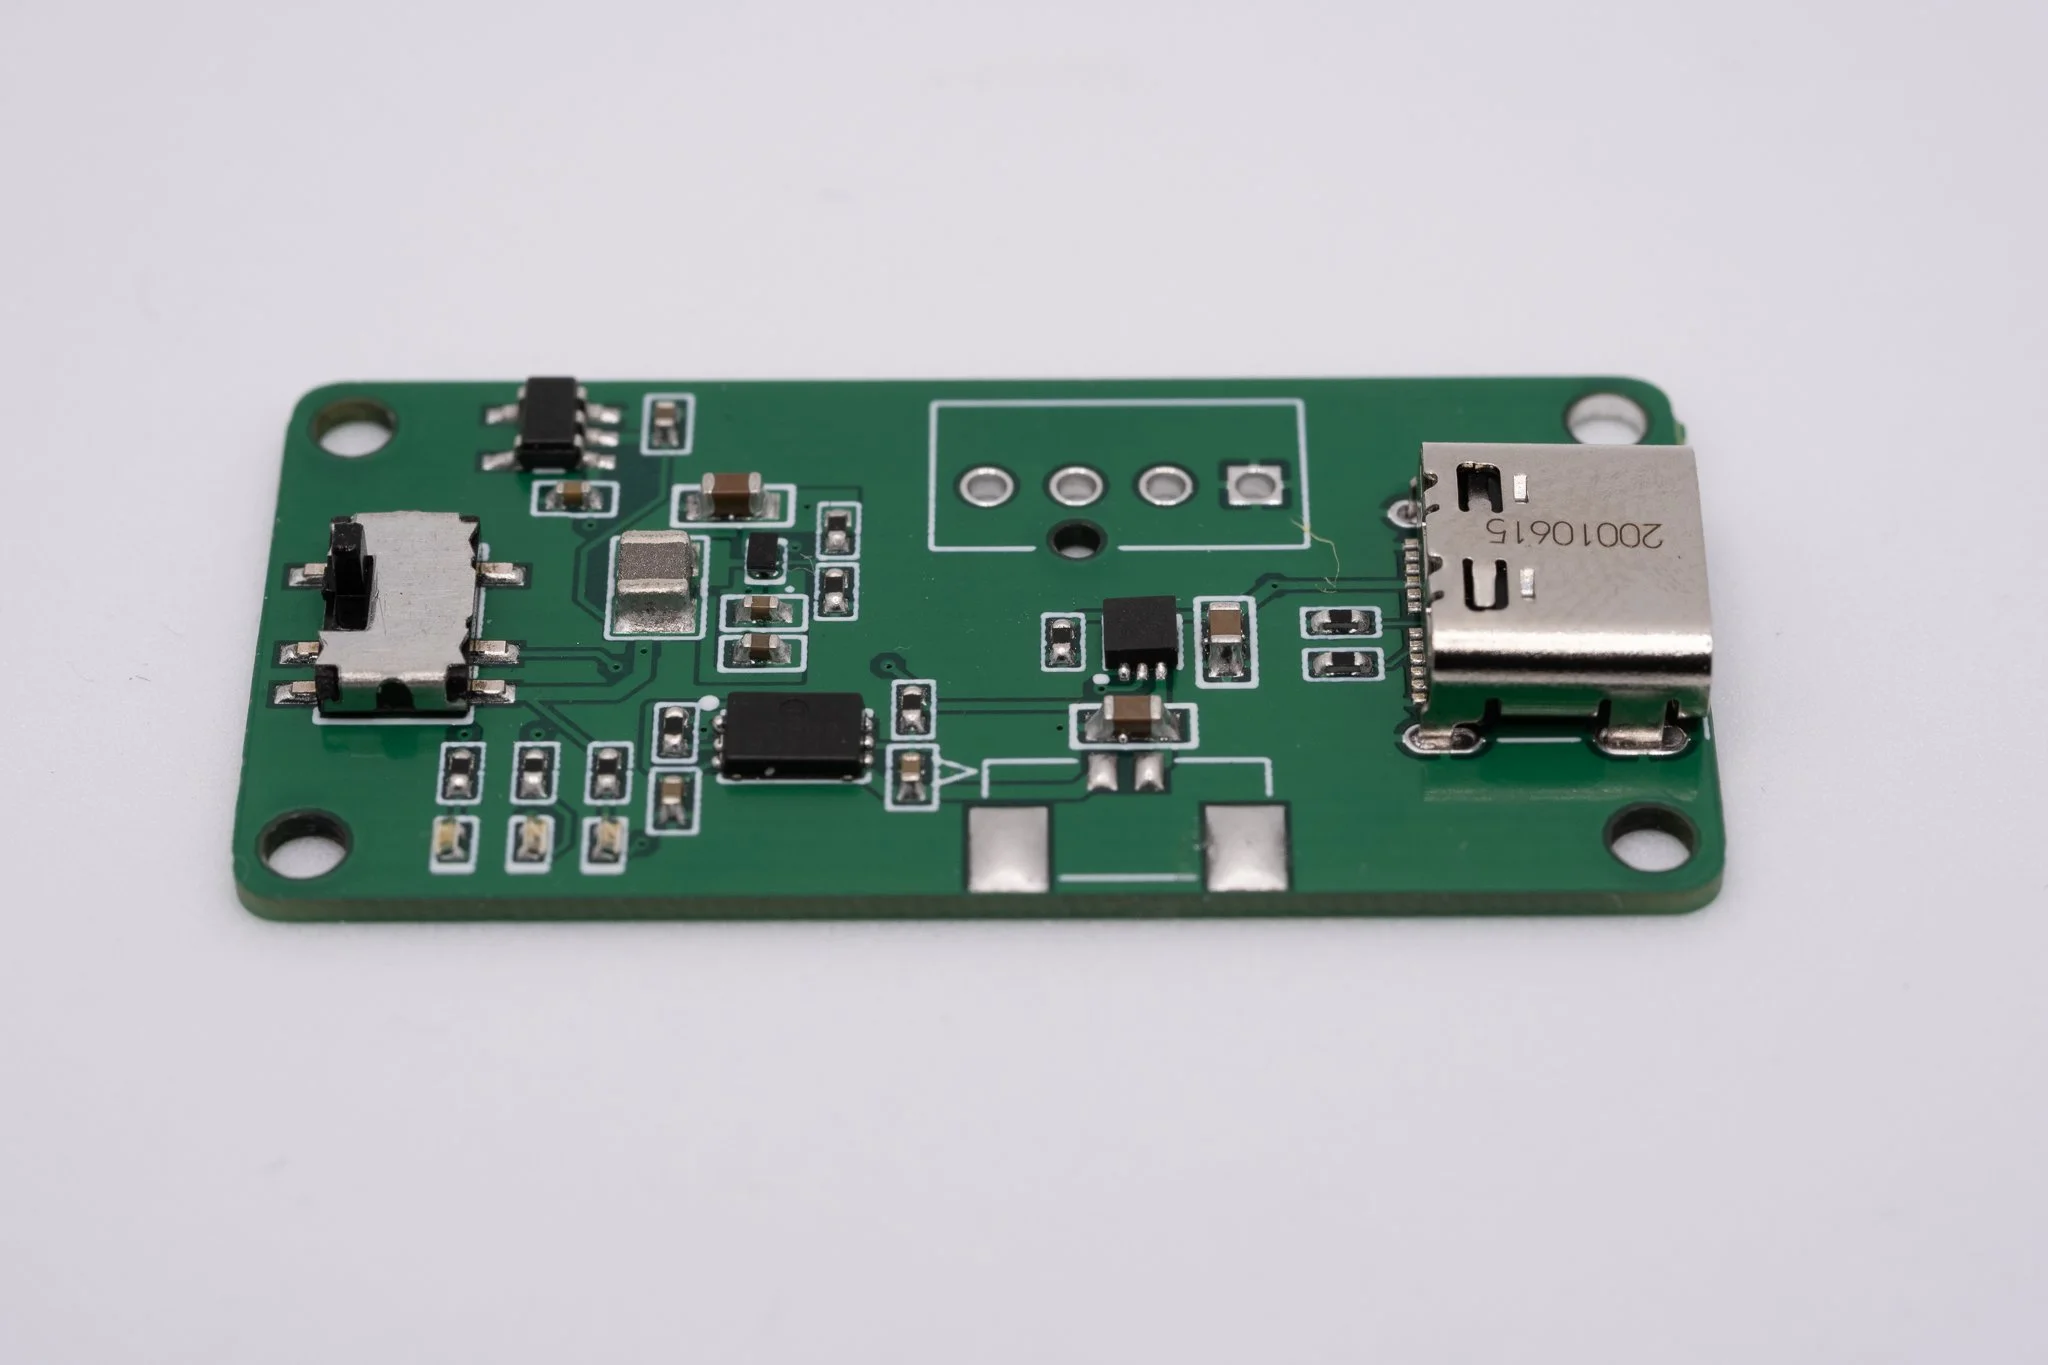
The most important part of this project was the electronics. To maximise space efficiency I decided to use a PCB (Printed Circuit Board). I used Fusion 360 for the schematic capture and board layout. Fusion 360 also allows easy linking of the 3D PCB to a CAD design, so I could optimize the design of both for the best result. A number of electronic components in this design are not readily available in a part library so I had to draw the schematic symbol, board footprint, and 3D file for each custom component.

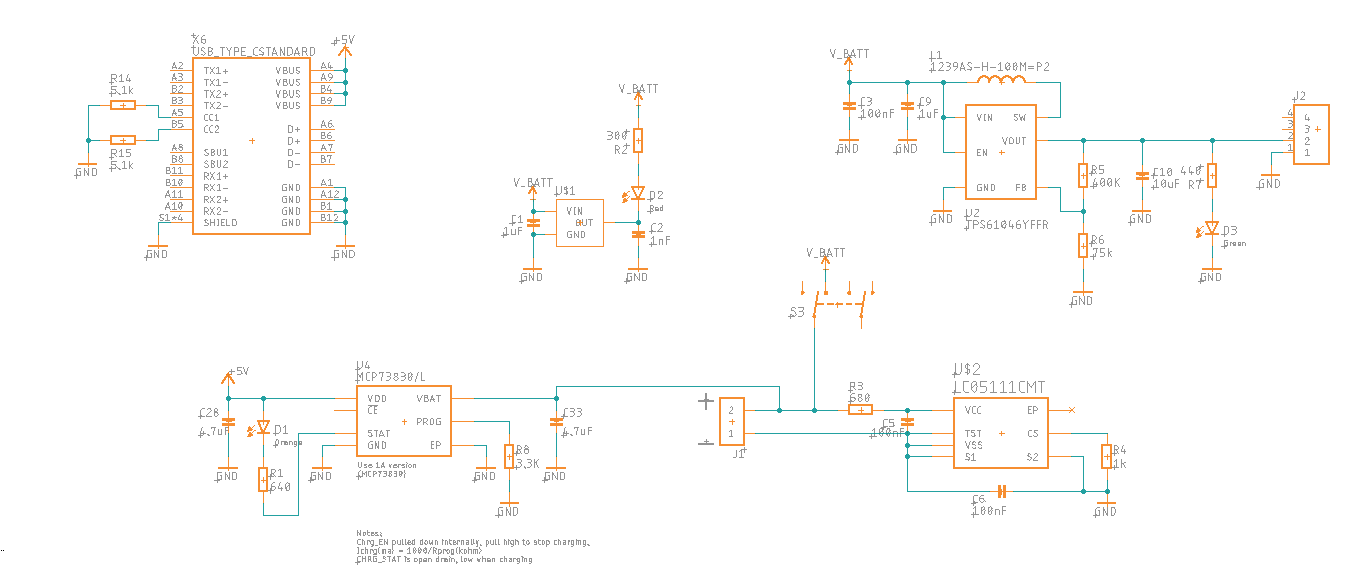
The electronics are kept as simple as possible. There is a lithium battery protection IC and a battery charge IC. There is also a step up converter to boost the battery voltage to 5V for the fan. There is also a voltage detector IC which will turn on a red LED when the battery gets below 3.3V to alert the user of low battery.
I used primarily SMD components for easier assembly, including a 0.5mm pitch BGA package for the step up converter. It is a challenge to solder , but is a super small package which keeps the size of the PCB very compact. I added a footprint for a standard fan header, but ended up soldering the fan directly to the PCB to save space.
CAD Design
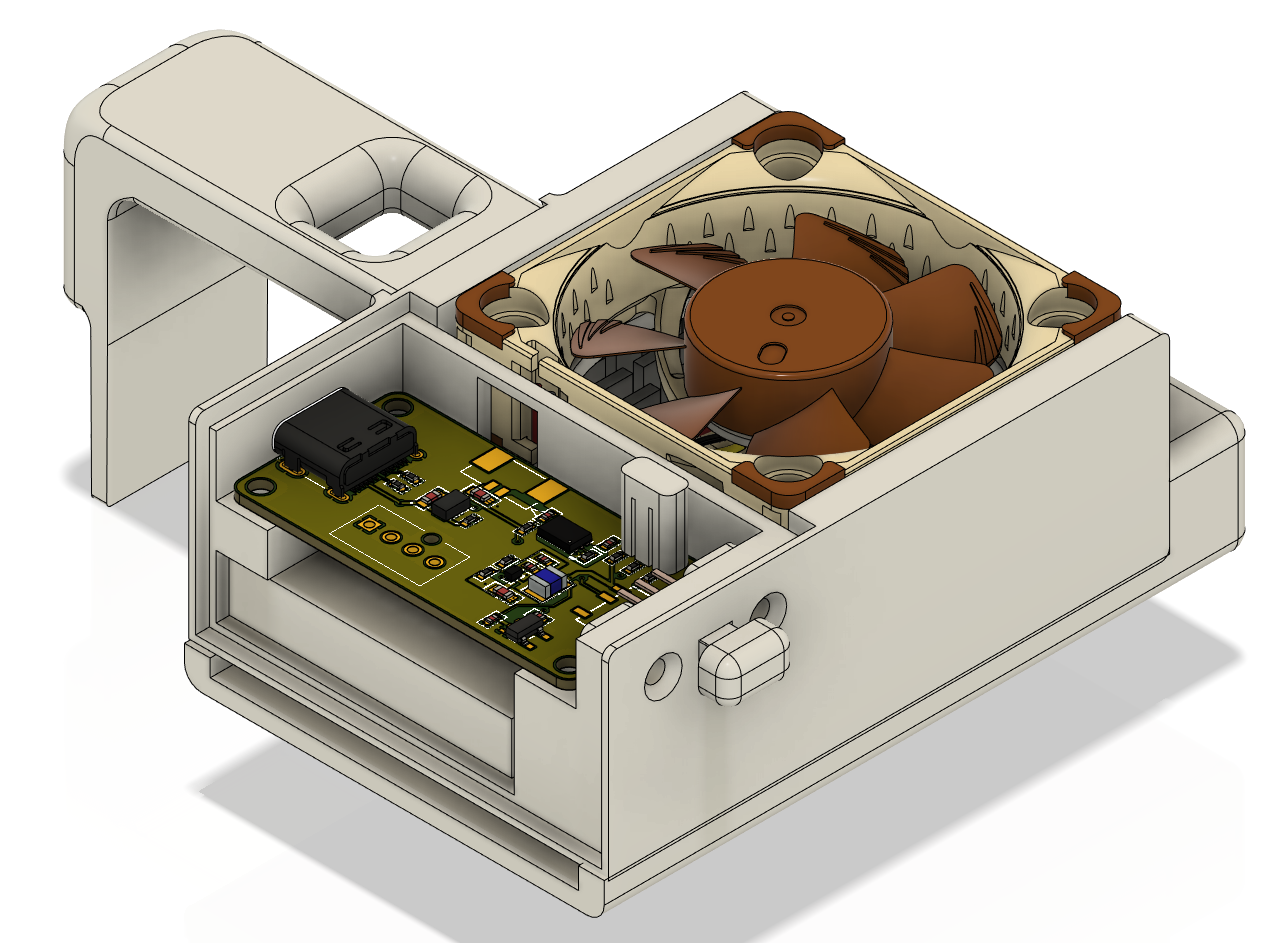
I modelled the case in Fusion 360 and then 3D printed it on a low cost FDM 3d Printer. Some considerations need to be made for manufacture since the printer’s nozzle can not reproduce very small details, but after more than 10 iterations of the case design it came out niceley.
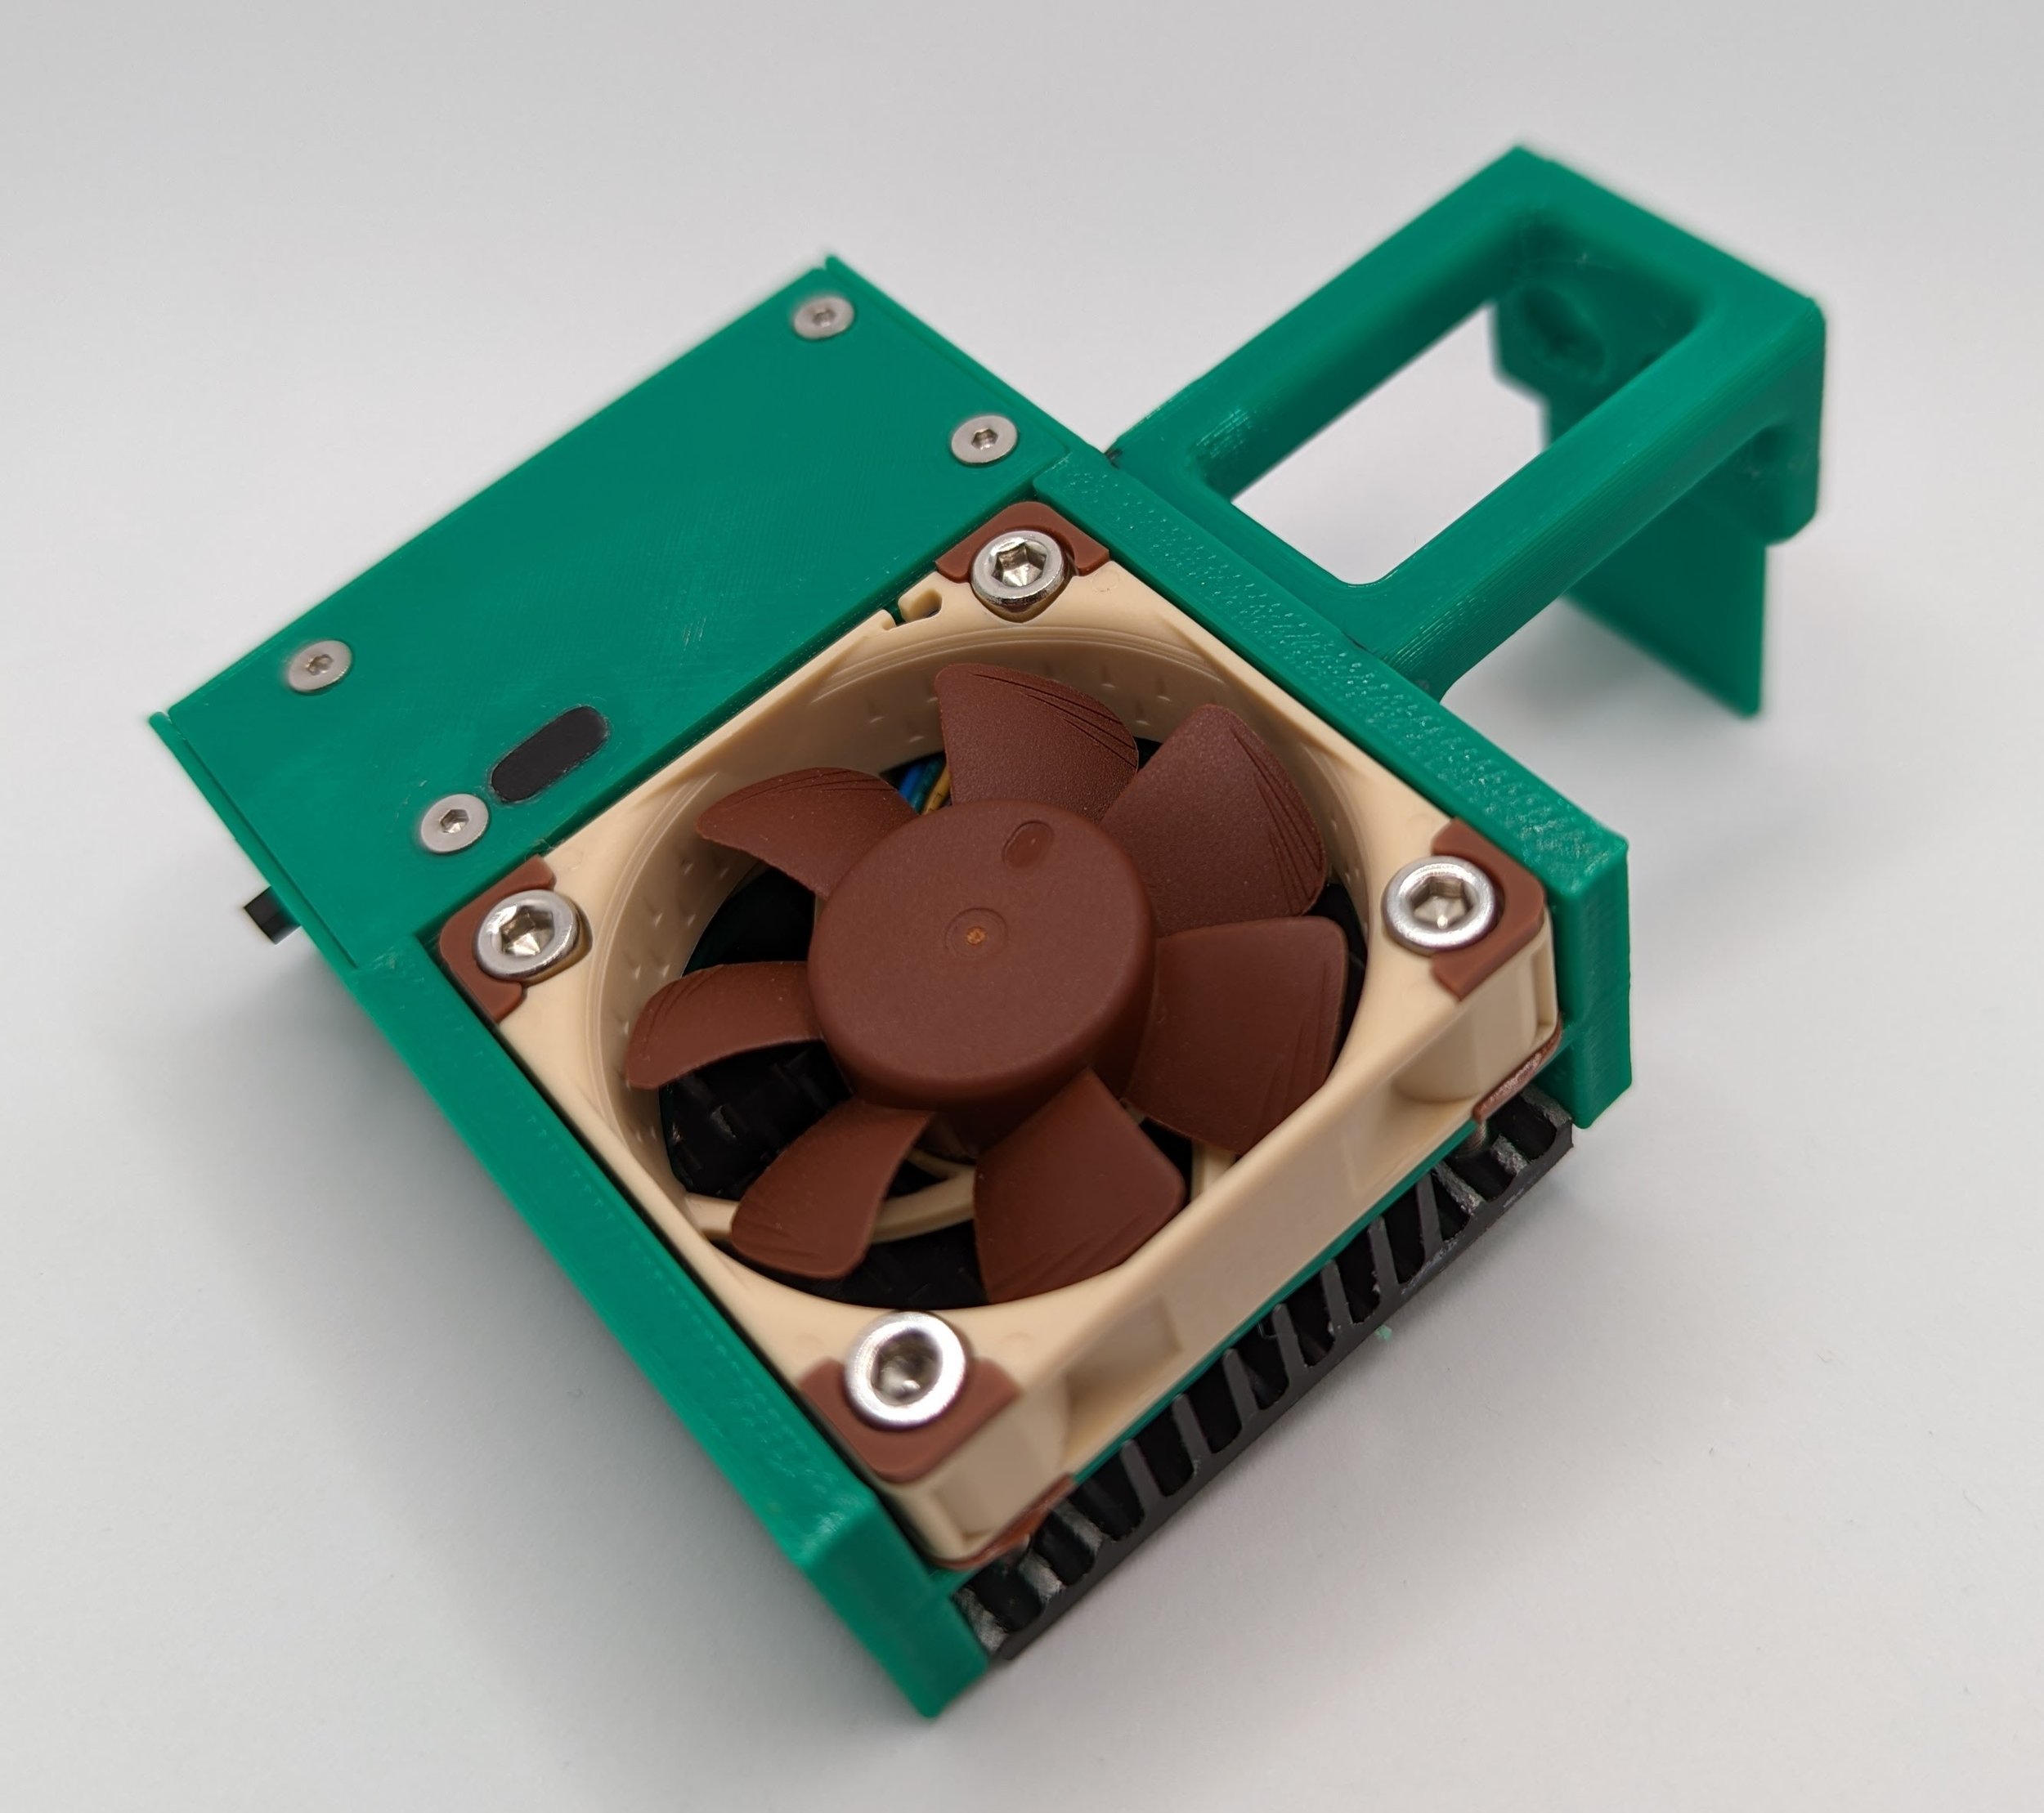
The cooler works by sitting on the back of the camera, attached to the hotshoe on the top of the camera. The cooler has a thermal pad and a 40x40mm aluminium heatsink cooled by a quiet fan. The case needs to position the heatsink in the perfect spot to make good contact with the camera.
The case uses threaded inserts to attach the lid so the lid can be removed and re-attached many more times than if the threads were directly in the plastic.
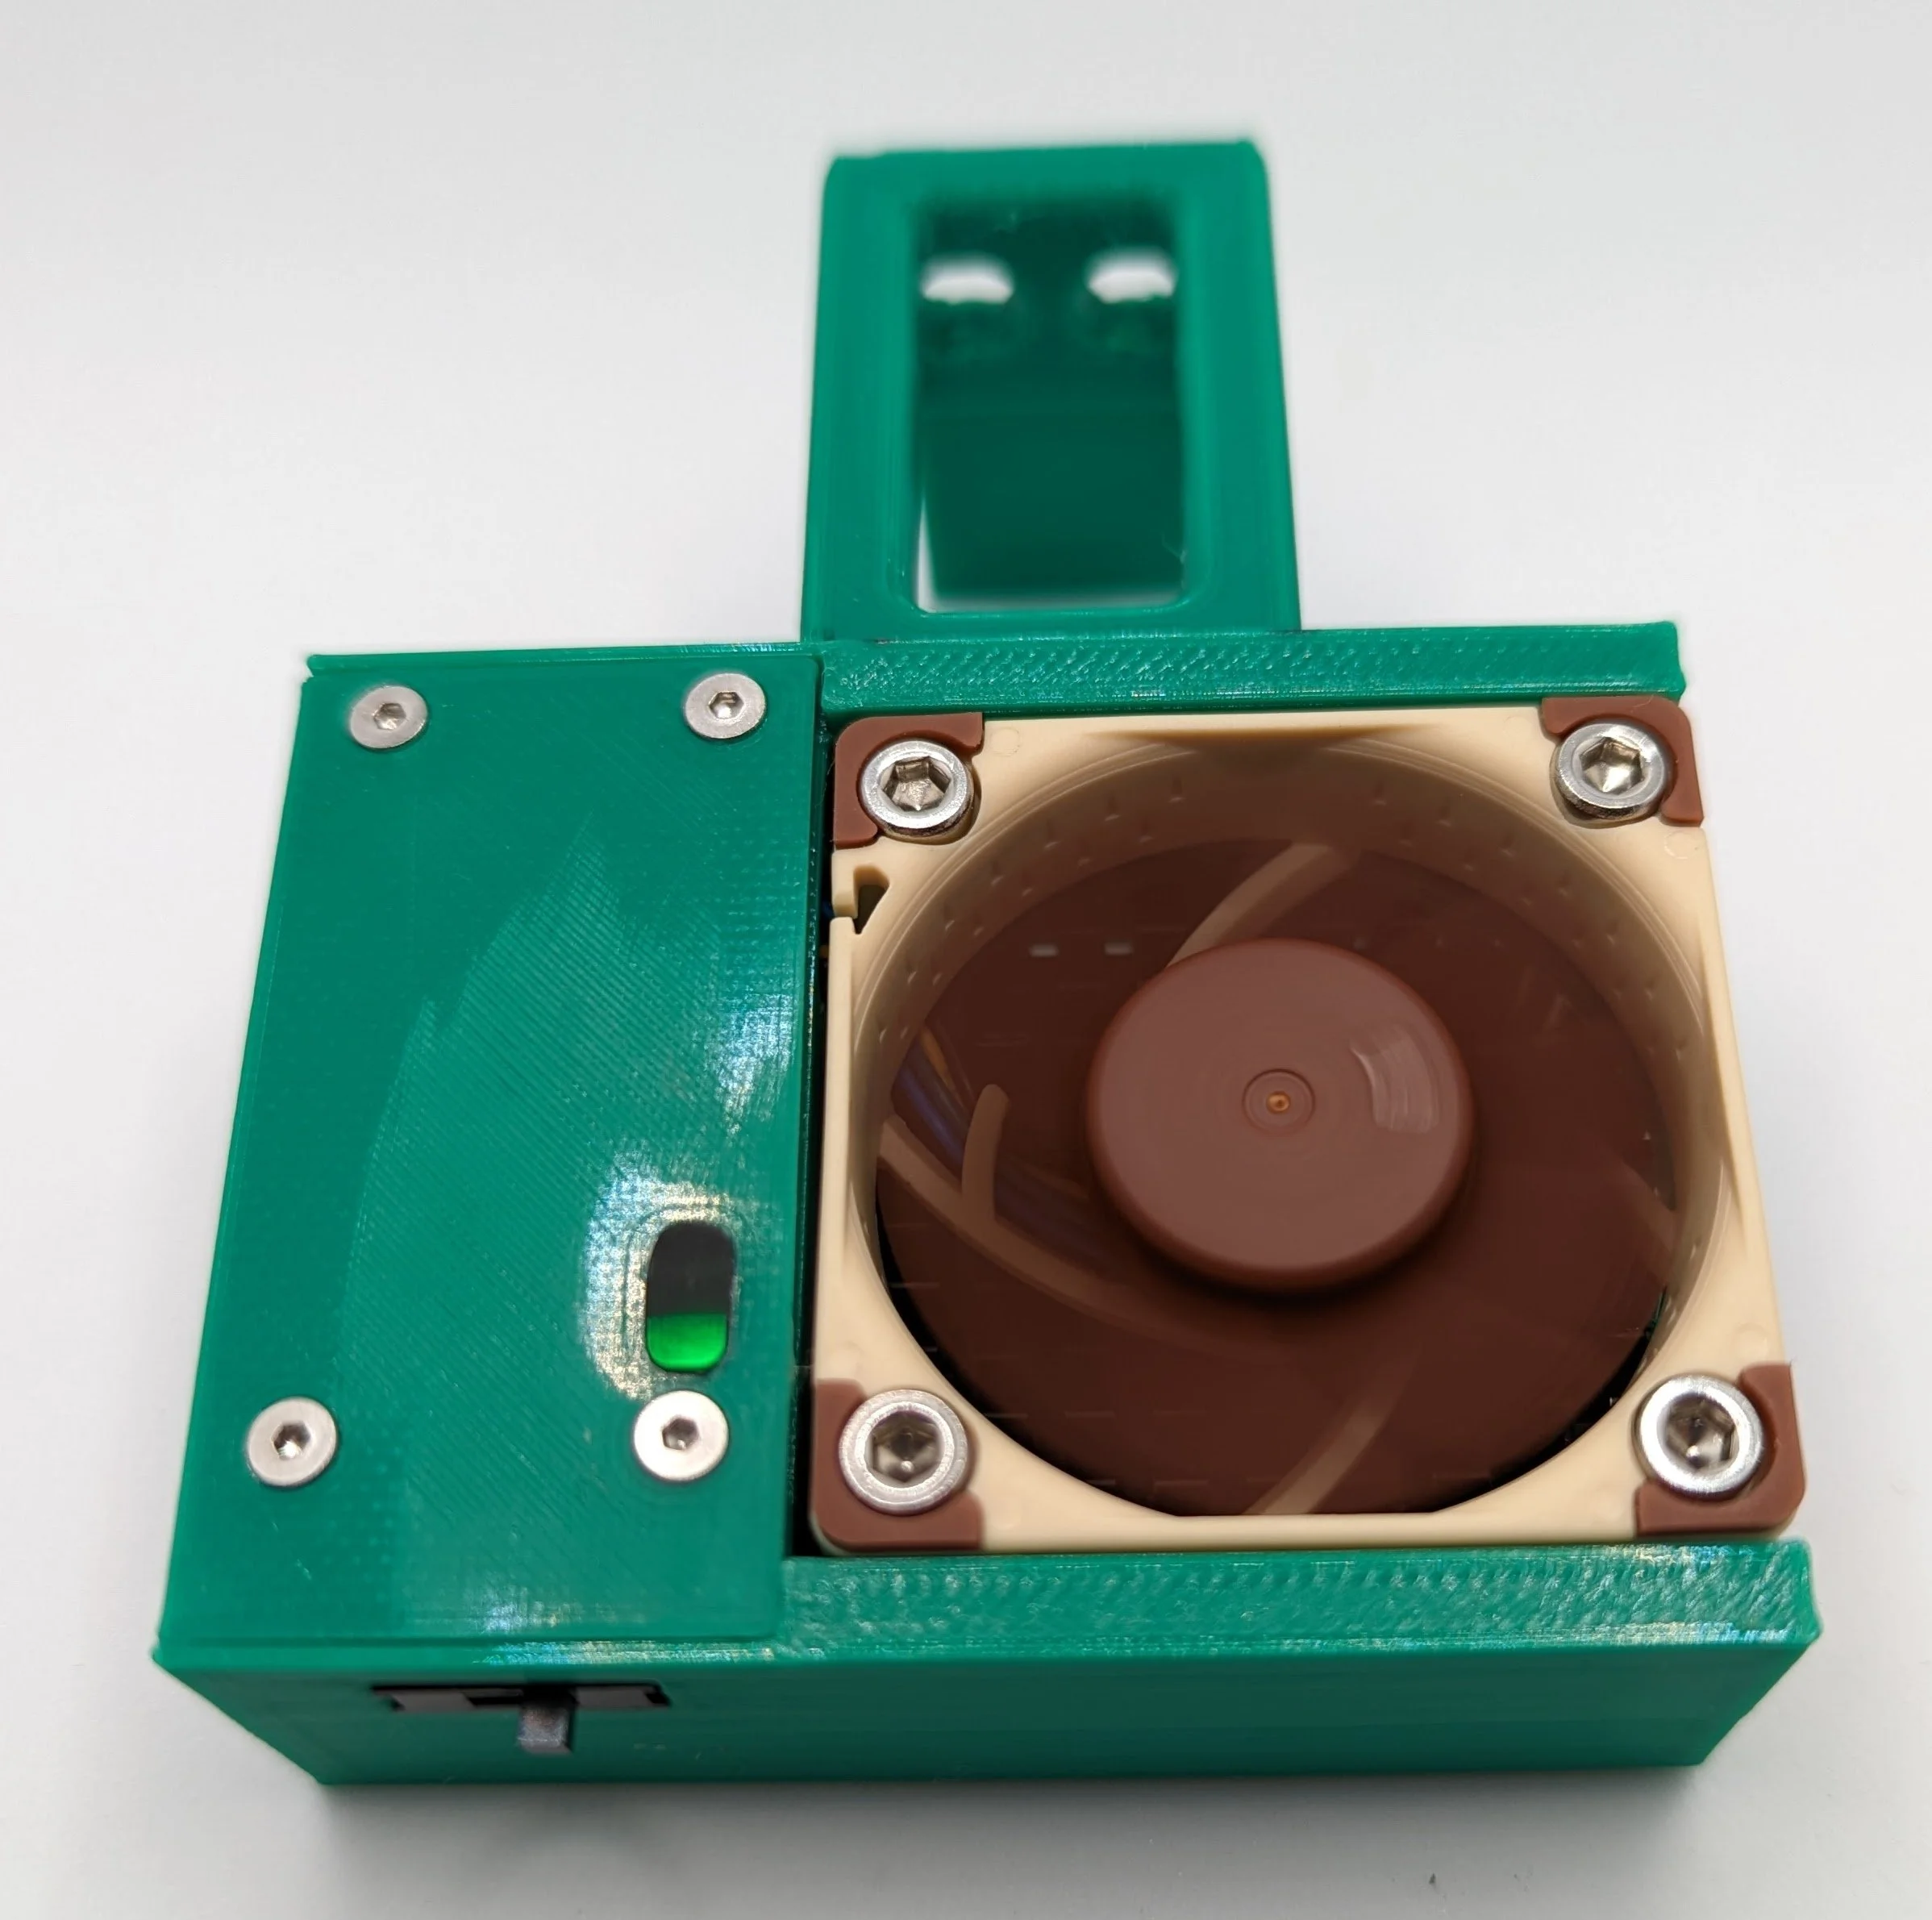

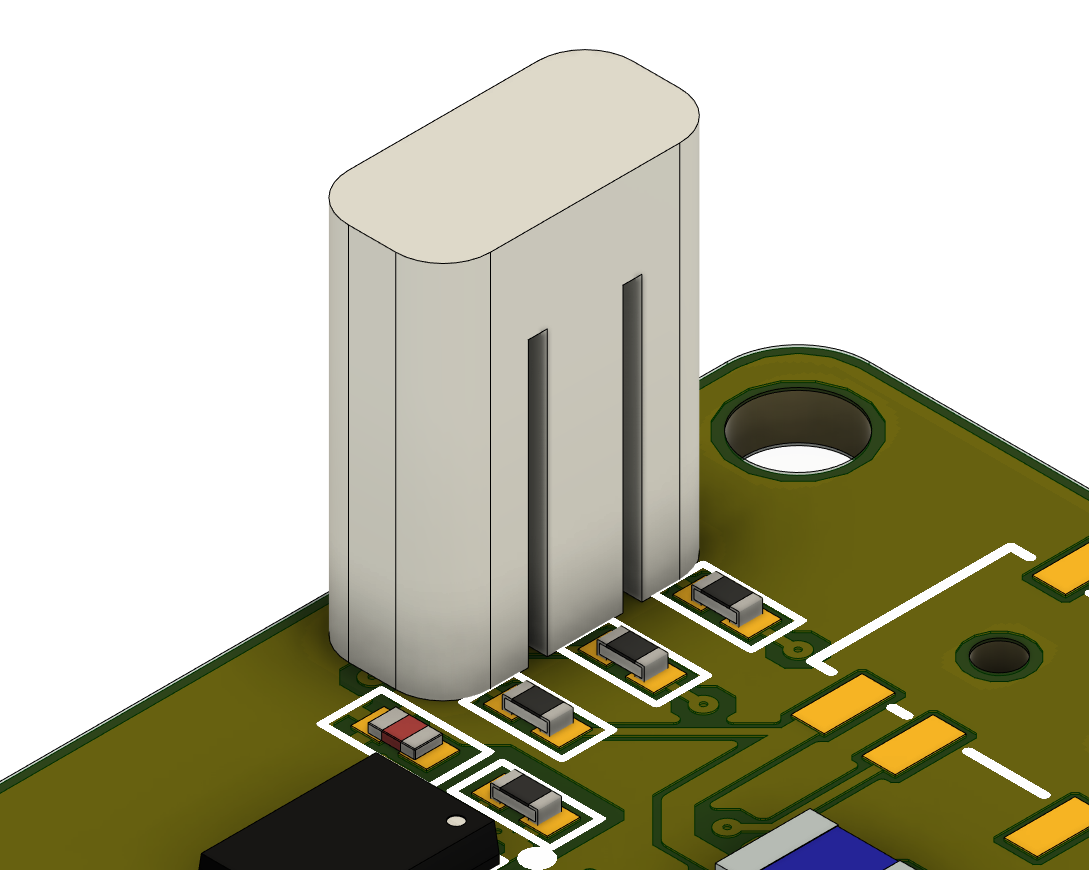
To ensure the LED lights are easy to view for the user, I used a custom light pipe in this design. It is a clear piece of plastic which sits on top of the SMD LEDs. It has three channels to separate the light, and guide it to the outside of the case. The outside was painted black and covered in electrical tape to reduce light leakage. This part was much too small to FDM 3D print, so it was printed on a resin 3D printer in clear resin. Having a 3D model of the PCB proved valuable since it made designing the light pipe and getting it perfectly aligned to the PCB very easy.
Assembly
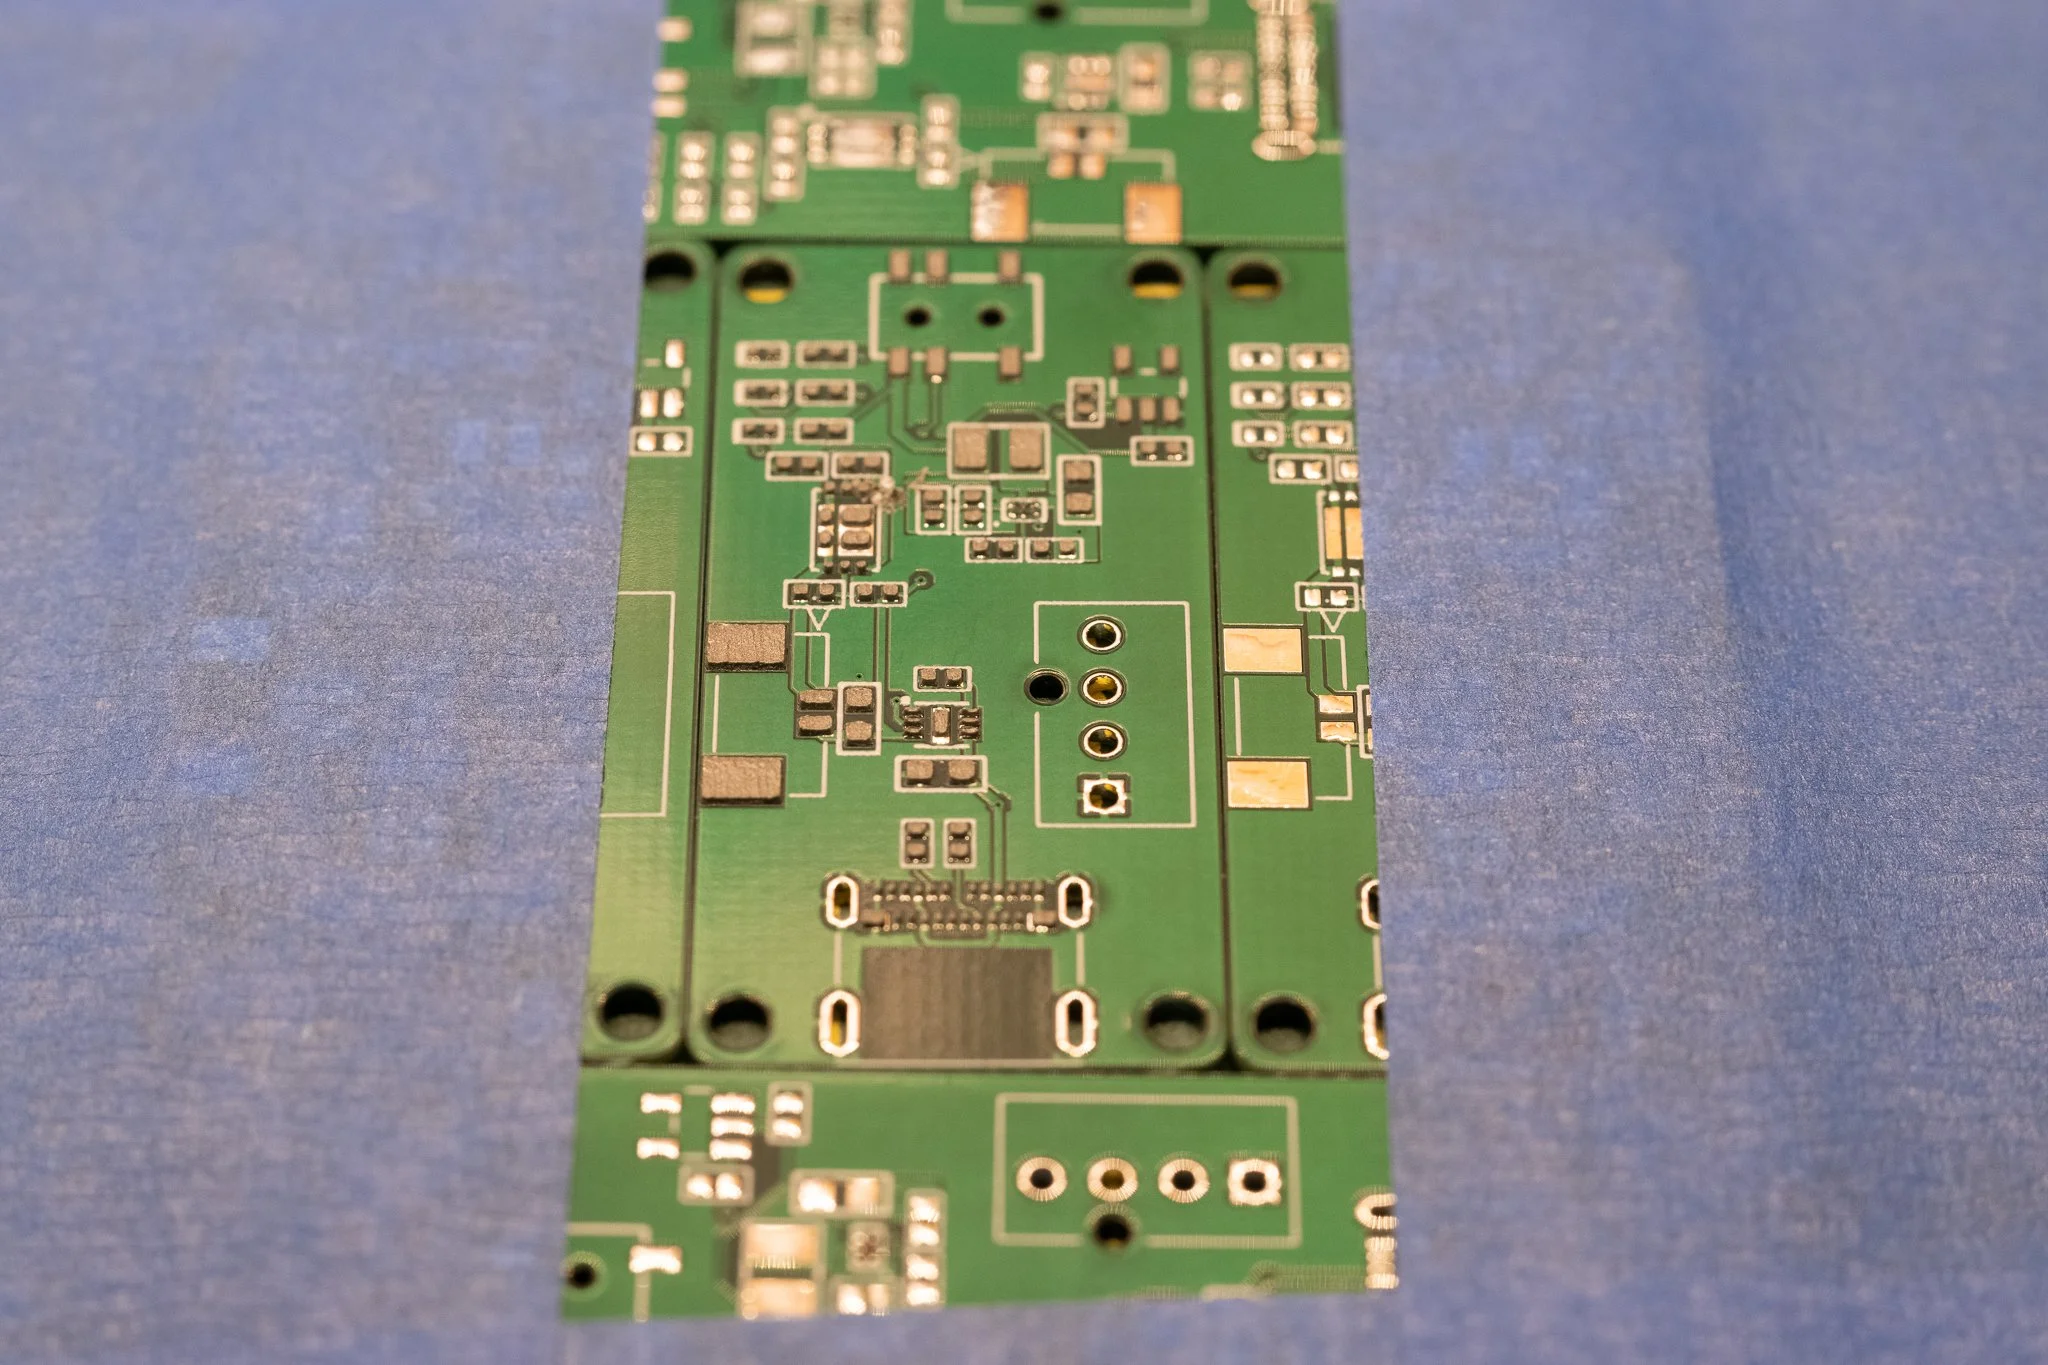
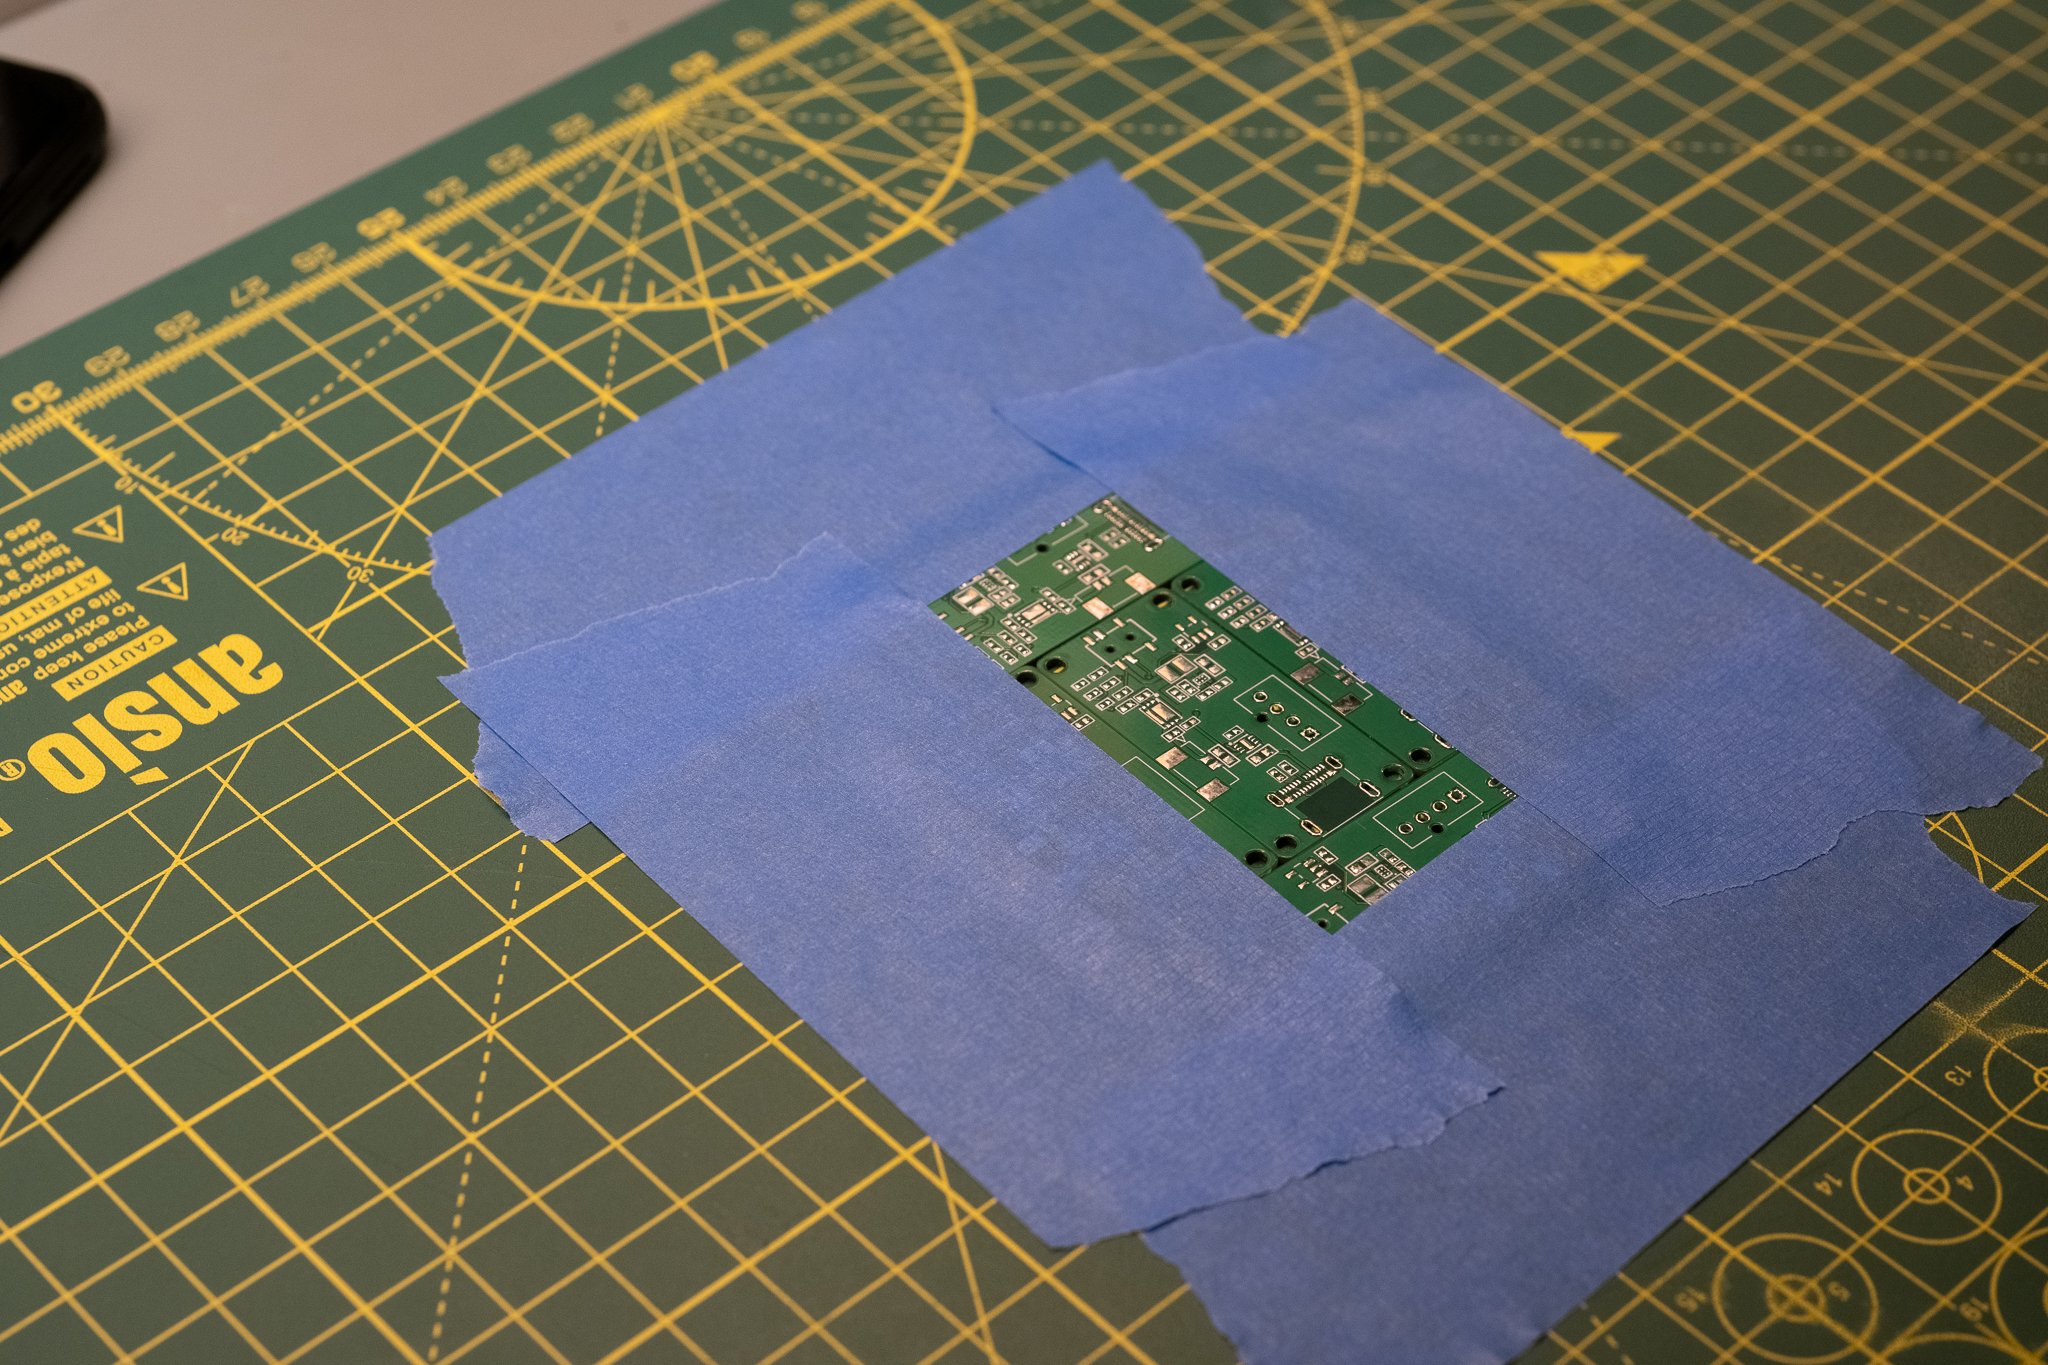
The PCBs and stencil were ordered from a manufacturer in China for a very low cost. Once they arrived, the first step in assembly was to use the stencil to apply solder paste. I used the extra PCBs and tape to make a jig to apply the solder.
Once the PCB had solder applied, I used fine tweezers to place the components. Next, I used a pre heater and a hot air gun to reflow the solder. Any shorts were re-worked with a normal soldering iron and flux. I also checked the power rails and important connections with a multimeter to make sure there are no errors or shorts after soldering.
The PCB has a footprint for an SMD switch, although i decided to glue the switch to the case directly and soldered some wires to the PCB to make the connections. I also decided to directly wire the fan, since the connector would take up excessive room making the case much larger than necessary.
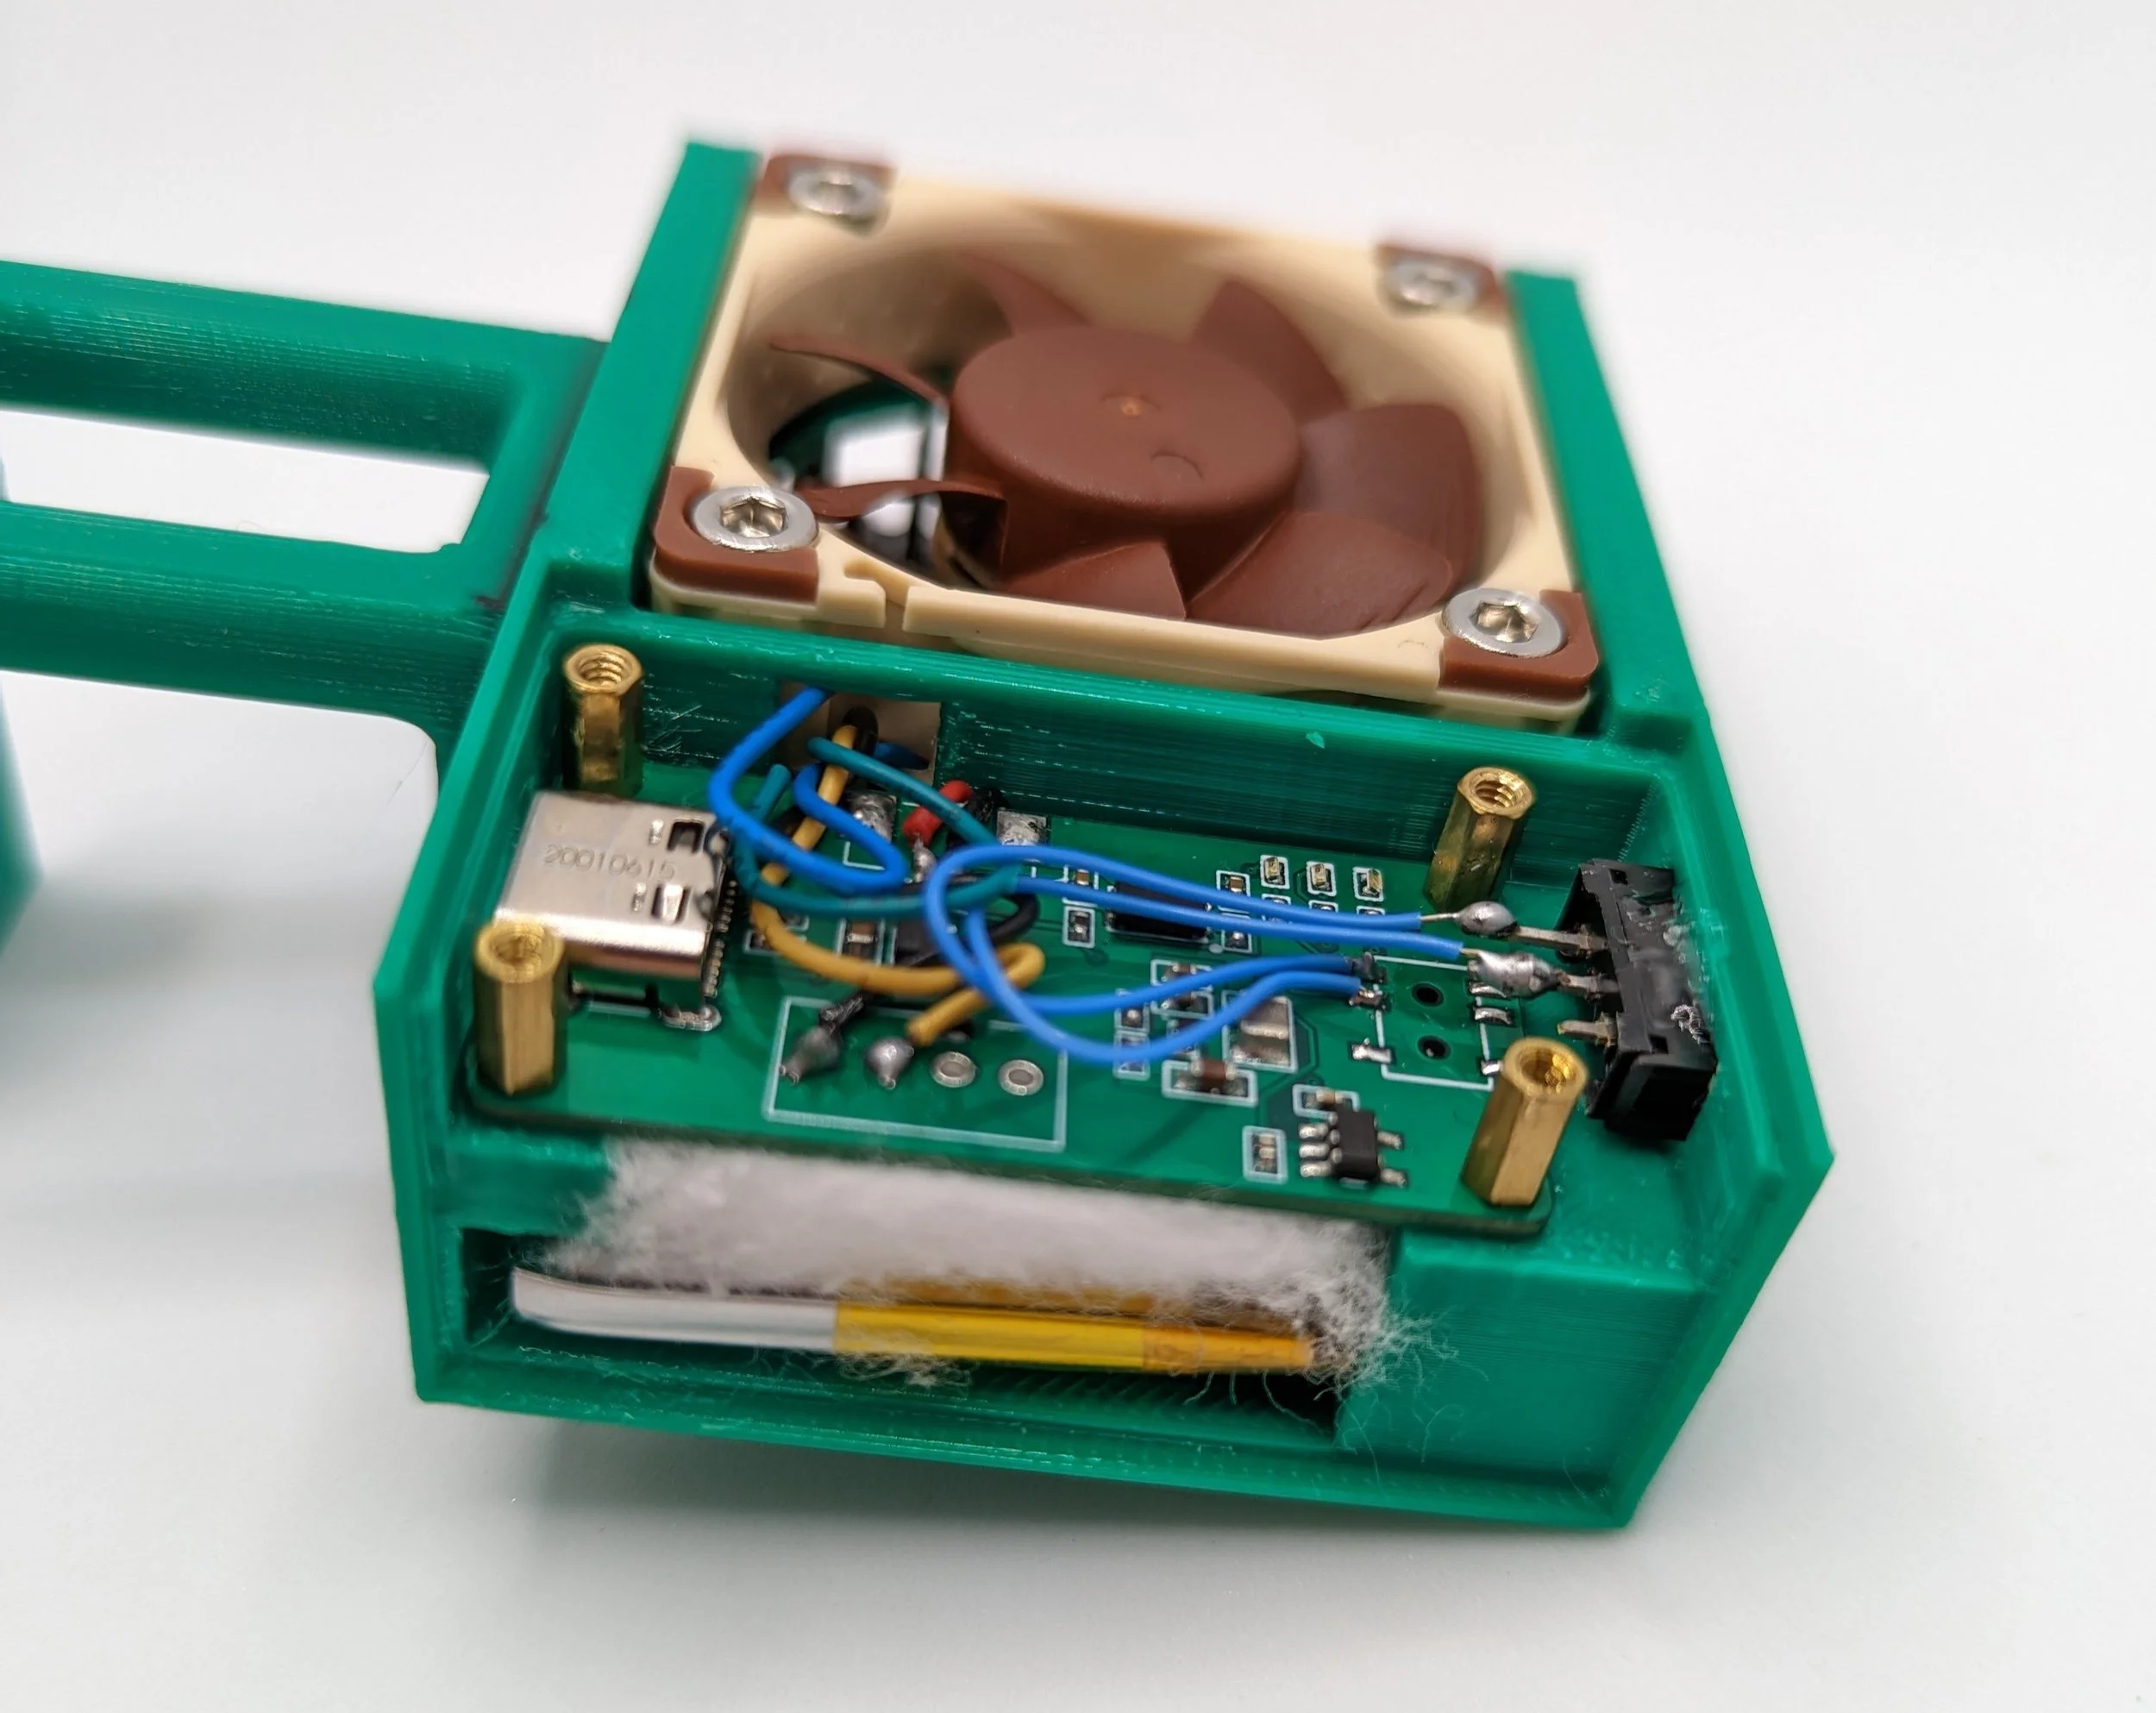
To finish the project I put in the heat set inserts, and screwed in the PCB with some standoffs. I also put the lithium battery in it’s compartment with some padding to prevent it moving around. I also screwed in the fan and heatsink , and the project was complete. During testing, the camera would get warm to the touch, but never shut down due to overheating even after an hour of continuous recording.
This project was really fun to work on, and is a great functional device. I was especially pleased with how well the custom light pipes work, and will likely use them more in future.