After I purchased my first resin 3D printer I realised it would be much more convenient to have an automated way of post-curing the completed prints. That led me to create a UV curing chamber with high power LEDs and automated timing.
UV Cure Box
2018
Design
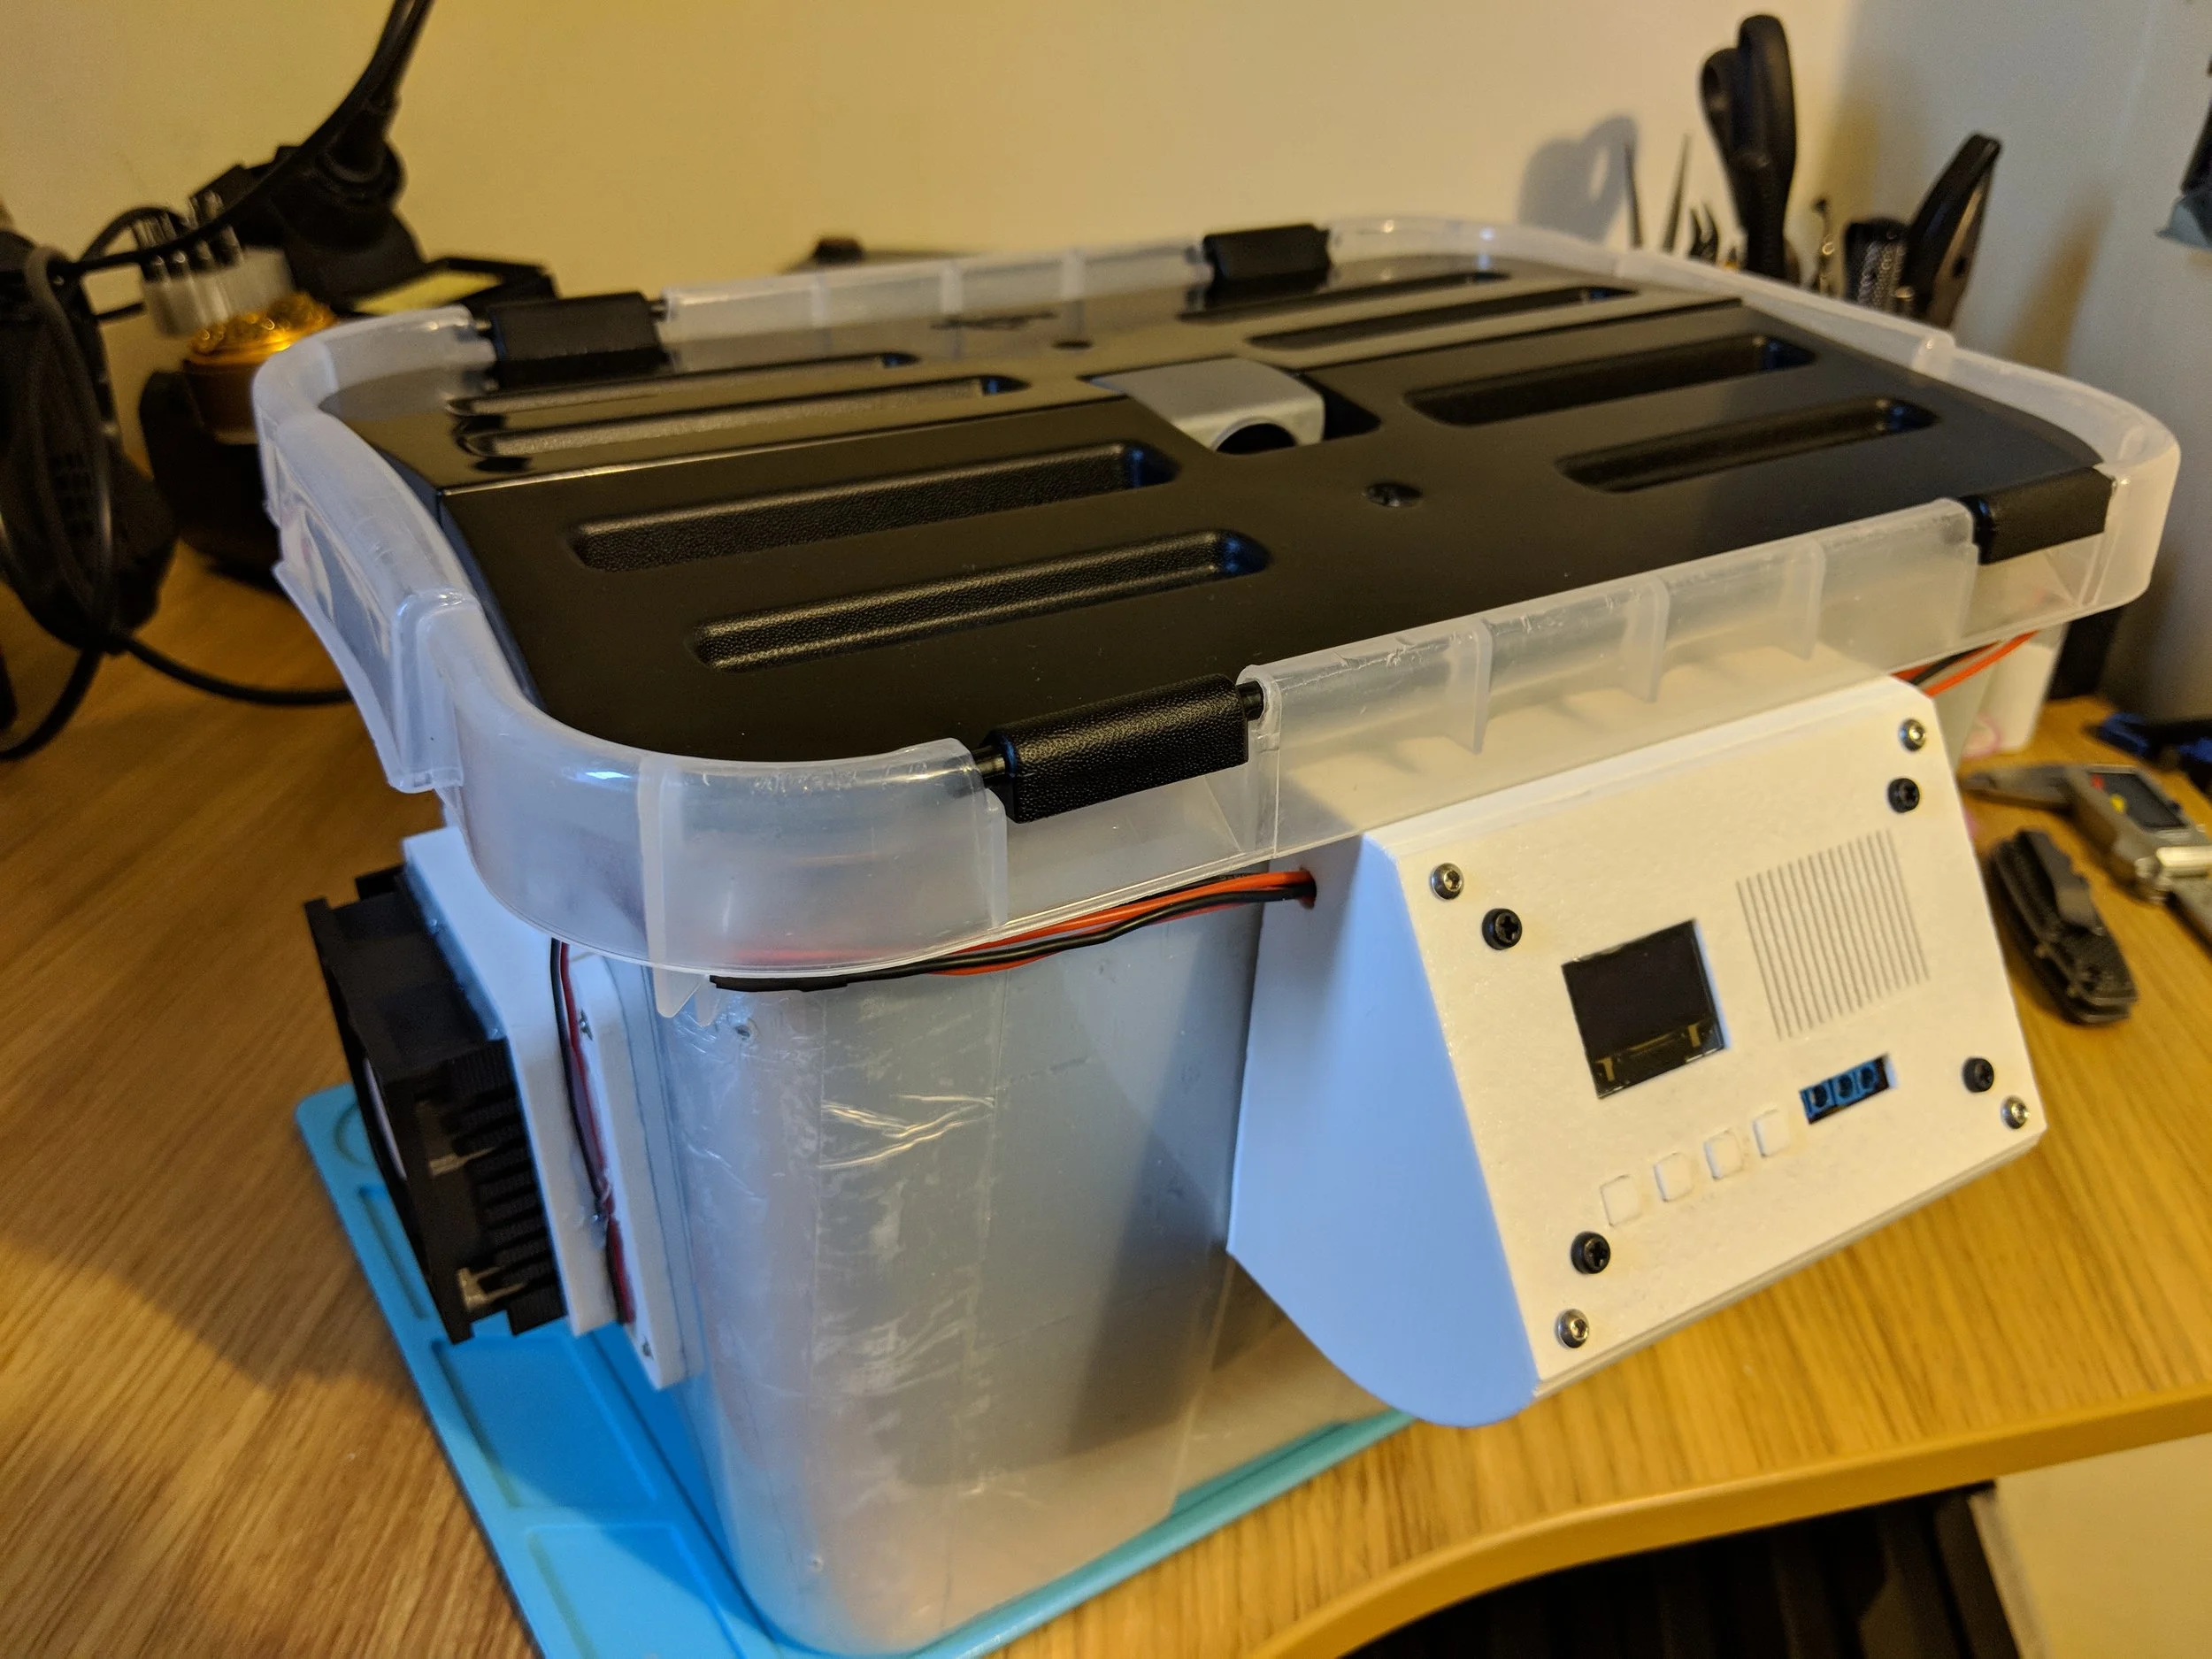
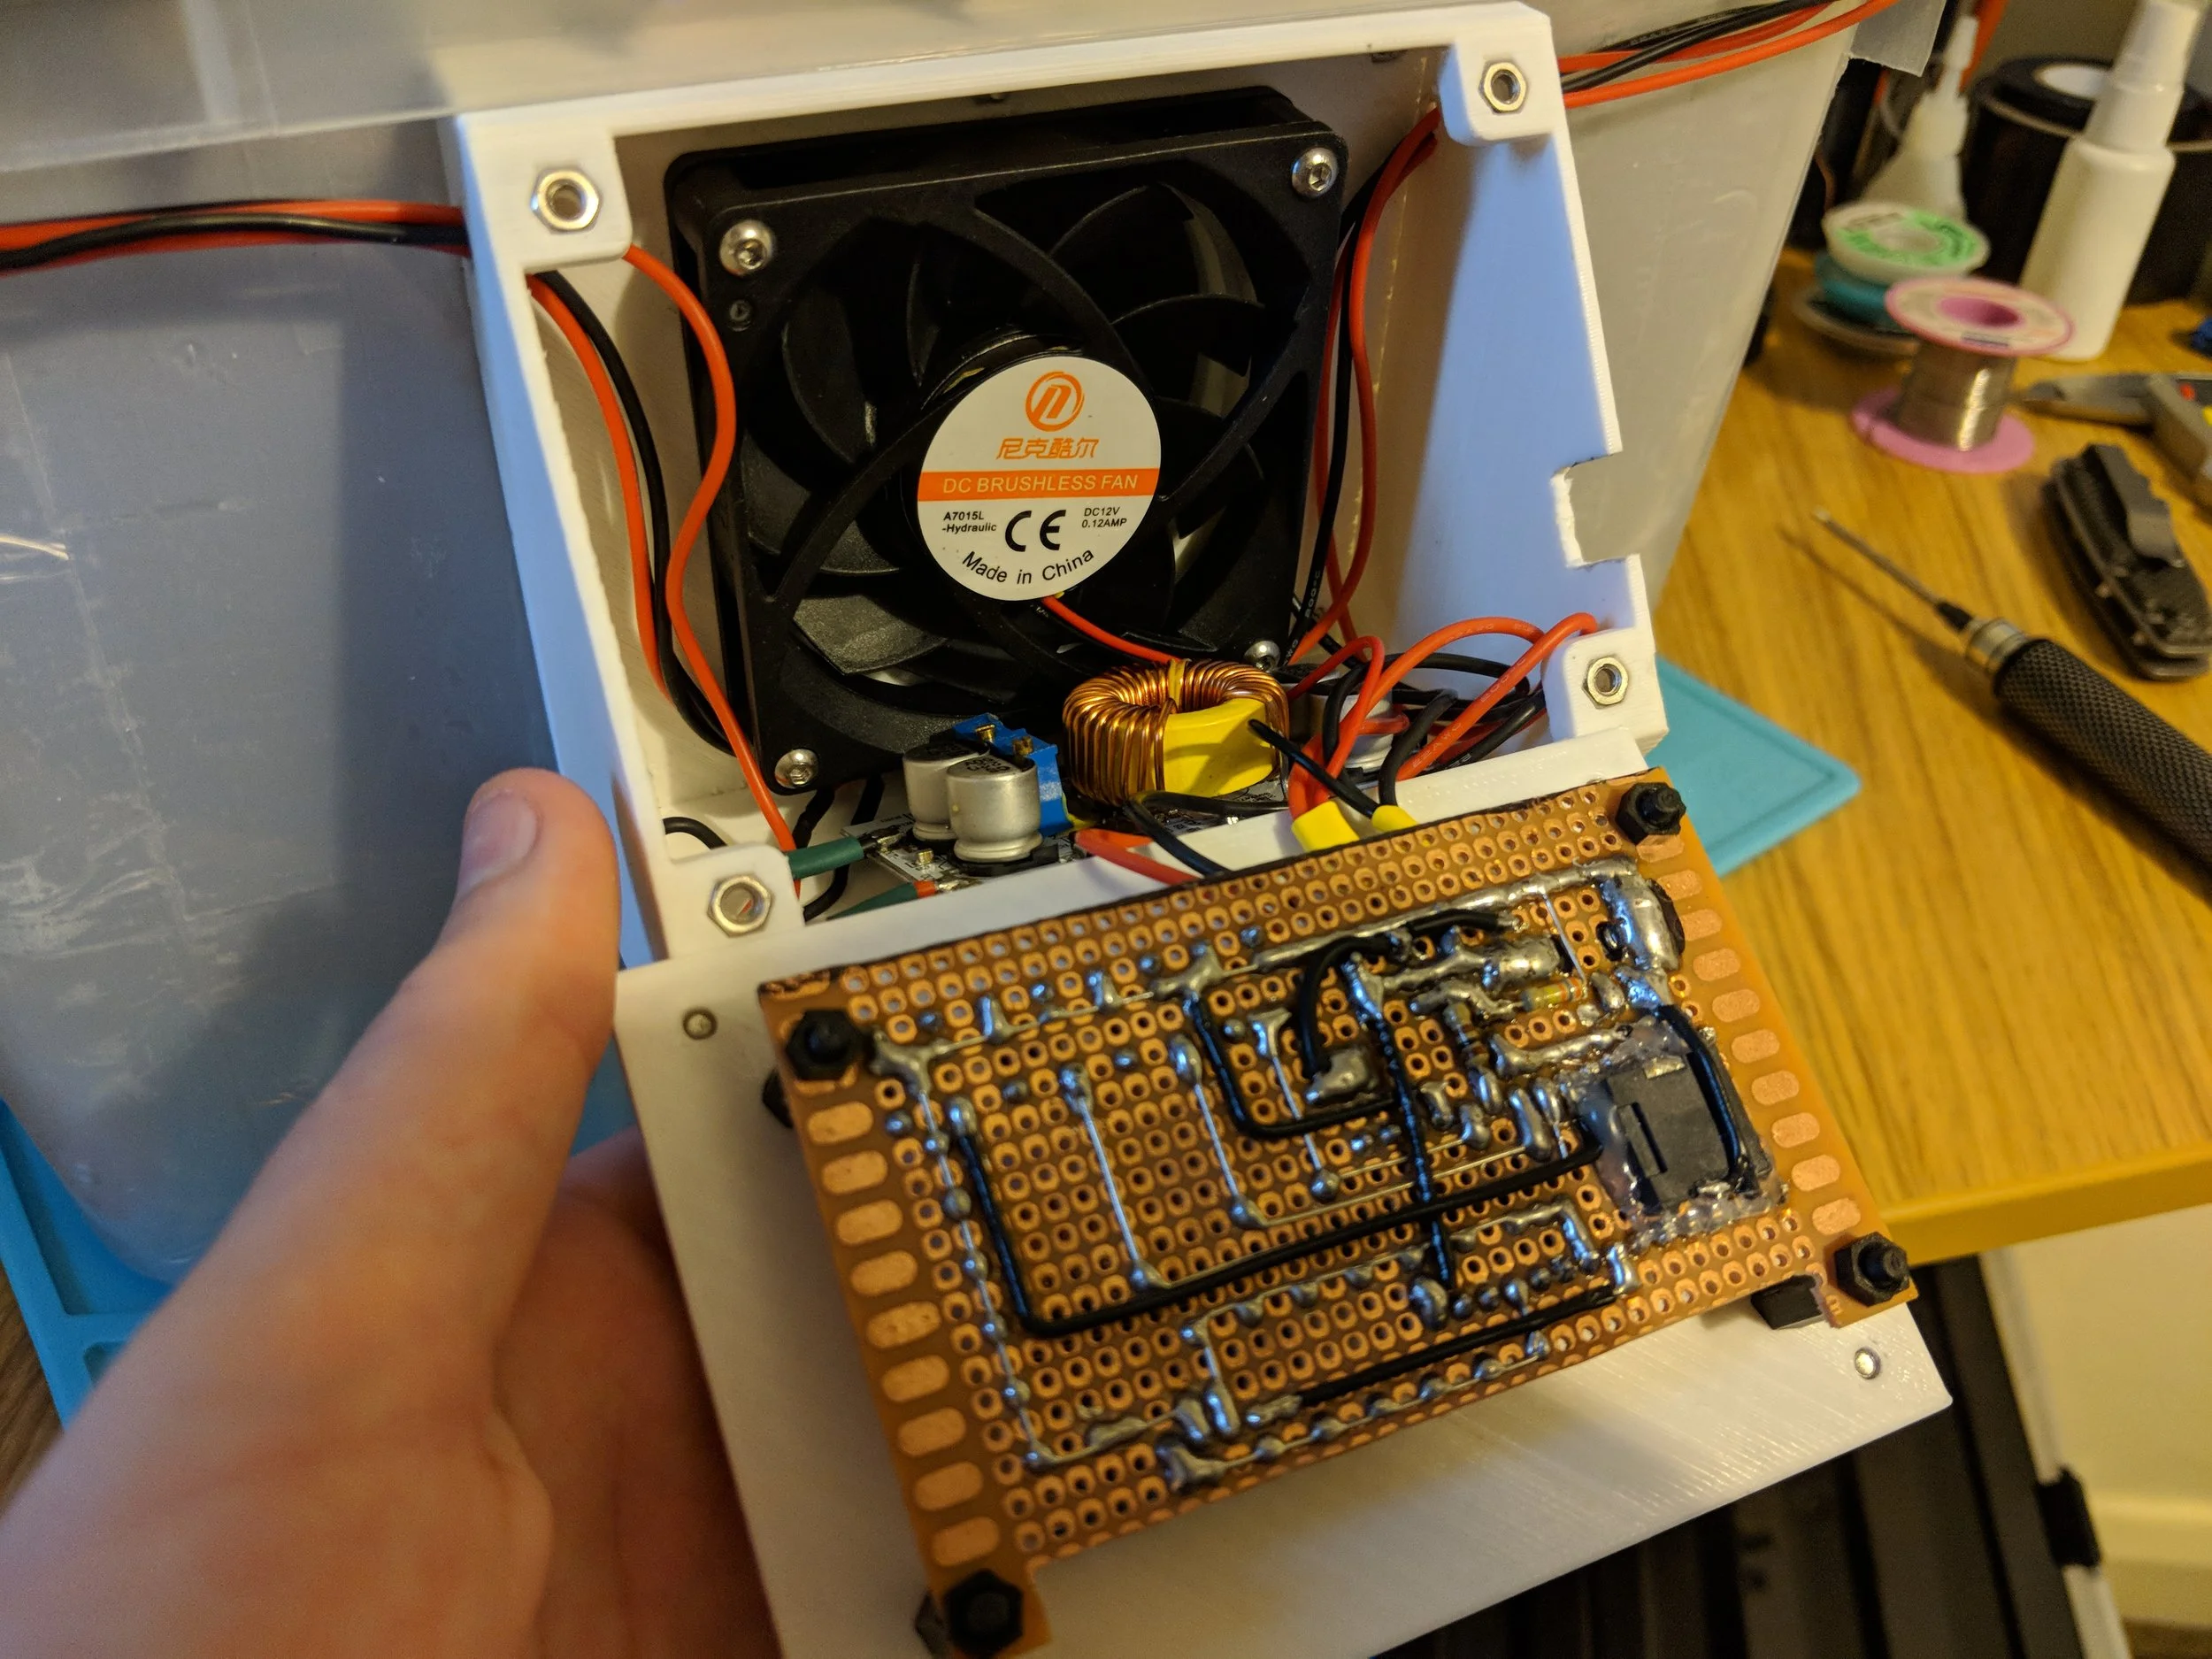
The enclosure was purchased from a retail store and modified to mount two 30W 405nm LEDs. To cool the high power LEDs I used two PC heatsinks with thermal adhesive to mount the LEDs. The heatsinks and LEDs mount to the enclosure with a 3D printed mount screwed through the wall of the enclosure. An electronics enclosure was also 3D printed and screwed to the box. It houses the display, constant current LED driver, cooling fan, and prototyping board.
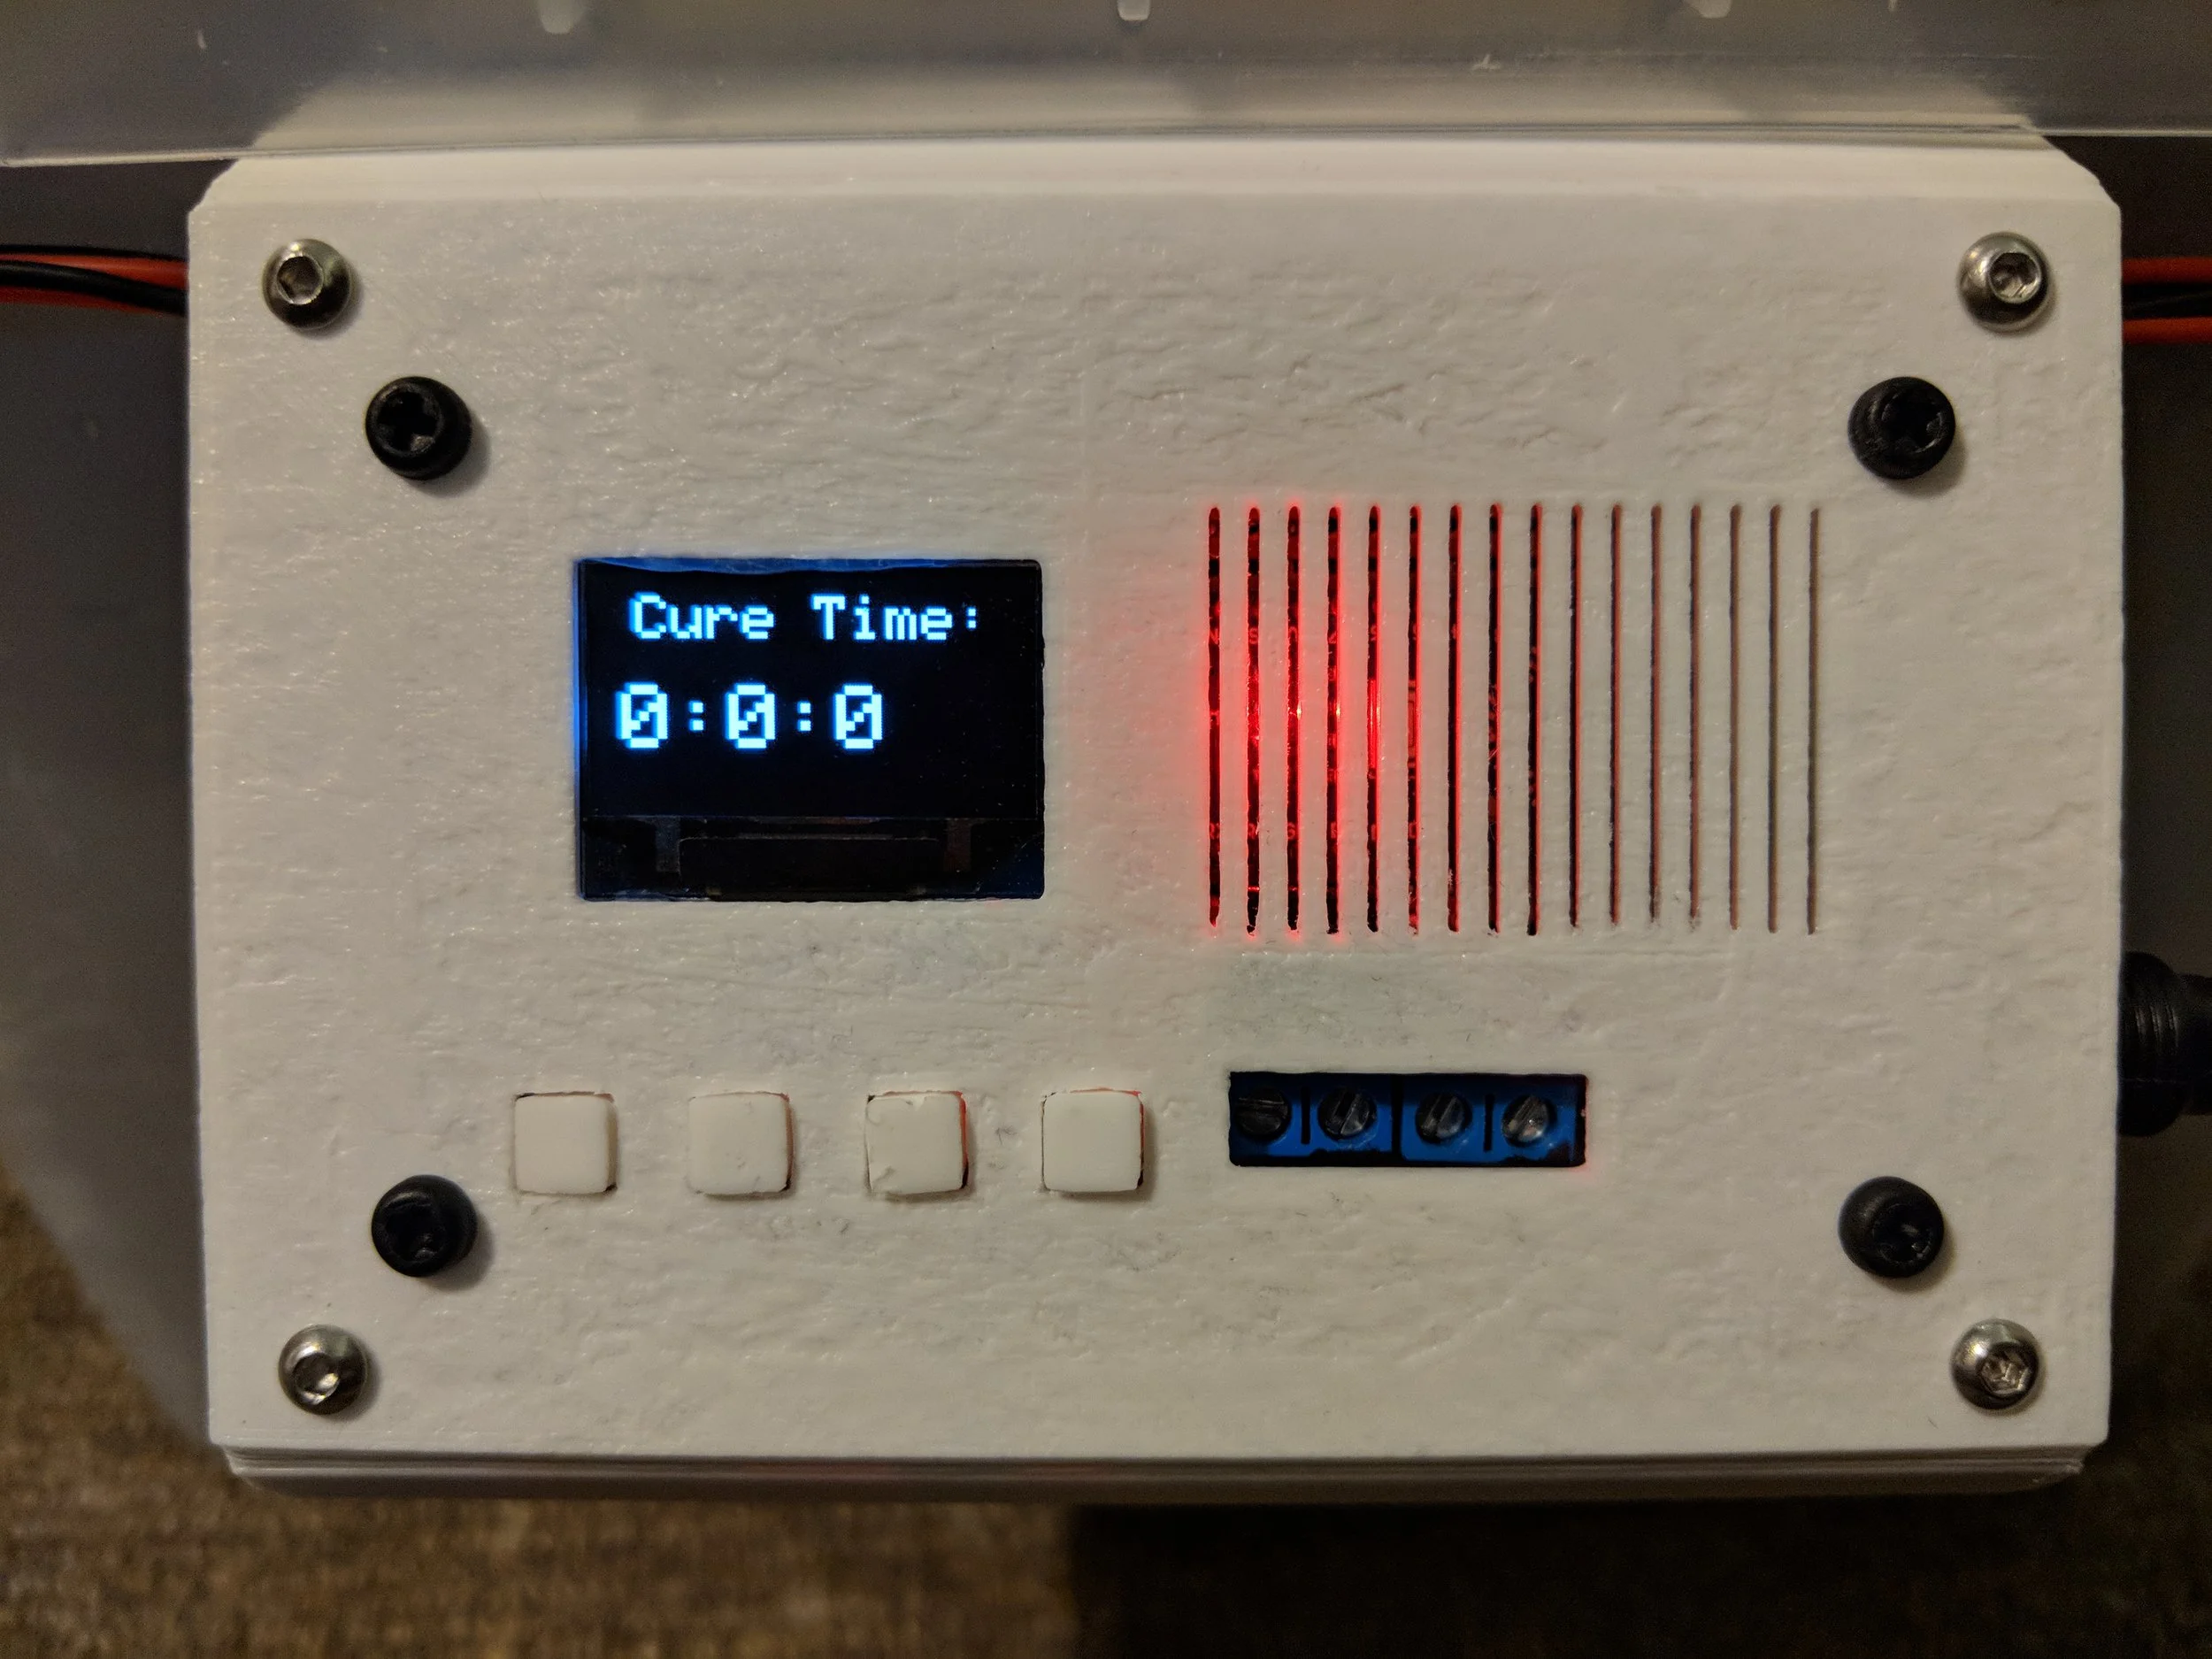
When powered on, the high power LEDs will cure the 3D print inside the chamber for the desired time, and alert with a audible alarm when complete.
Electronics
The circuit for this project is not very complicated, so to save time and cost, I assembled it on a prototyping board. The microcontroller communicated with the display over SPI, and also has input buttons for selecting the cure duration, and there is also a piezo buzzer for audio alerts. Everything is powered from an external 12V DC power supply. The mcu triggers a relay to switch the constant current LED driver on and off for LED control.
Conclusion
This is one of my simpler projects, however it has been in constant use for years since it was made. The construction could be refined and improved, but there is simply no need since it is perfectly functional. This project was great practice to make circuits on a prototyping board all by hand and writing code in C.